
Last updated November 2, 2026
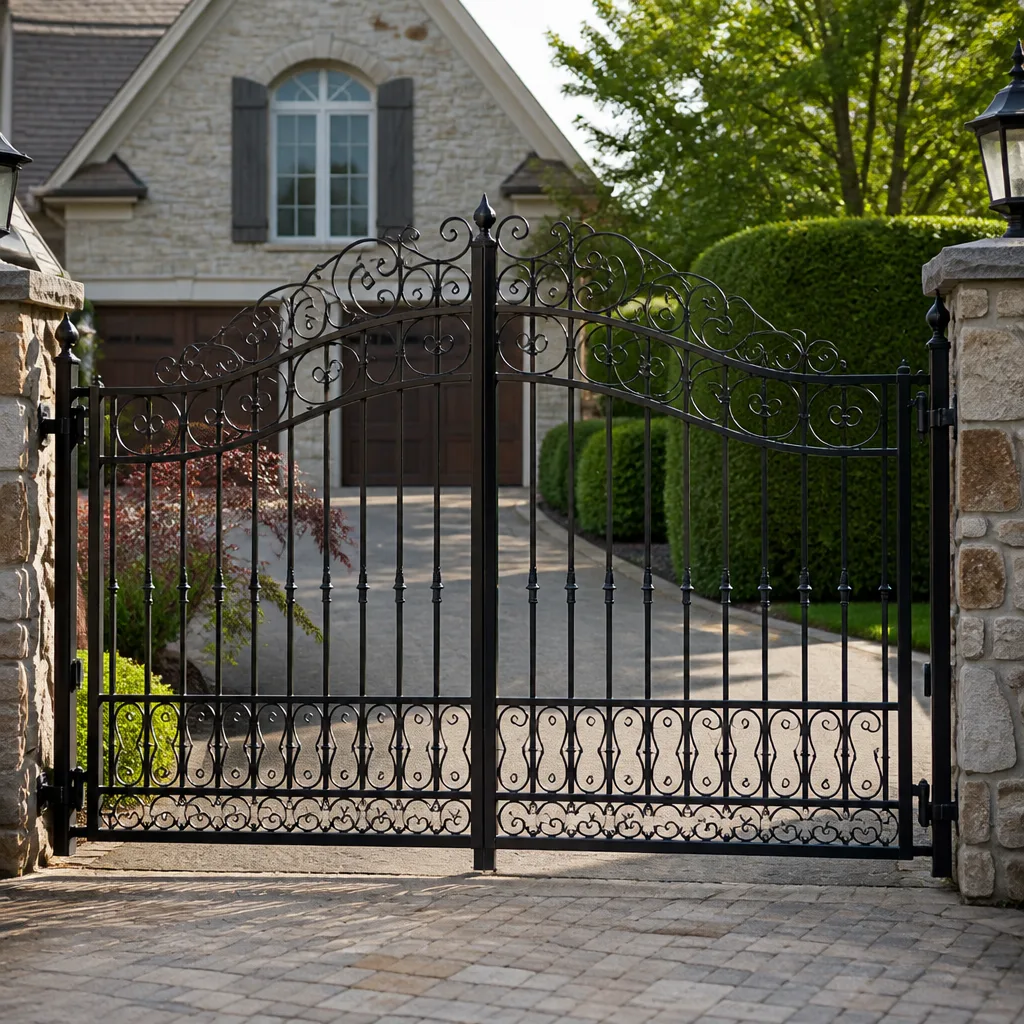 Wrought iron
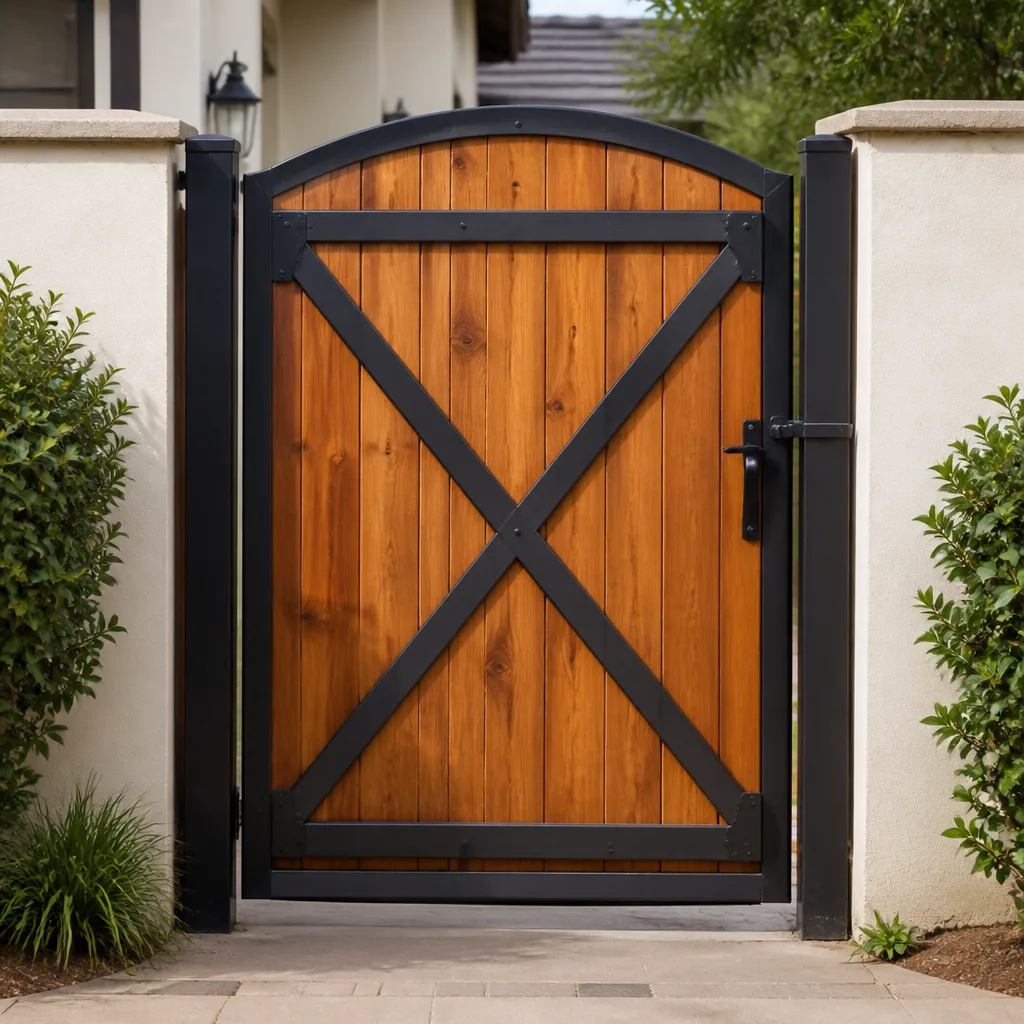 Wood & steel frame
 Farm & ranch
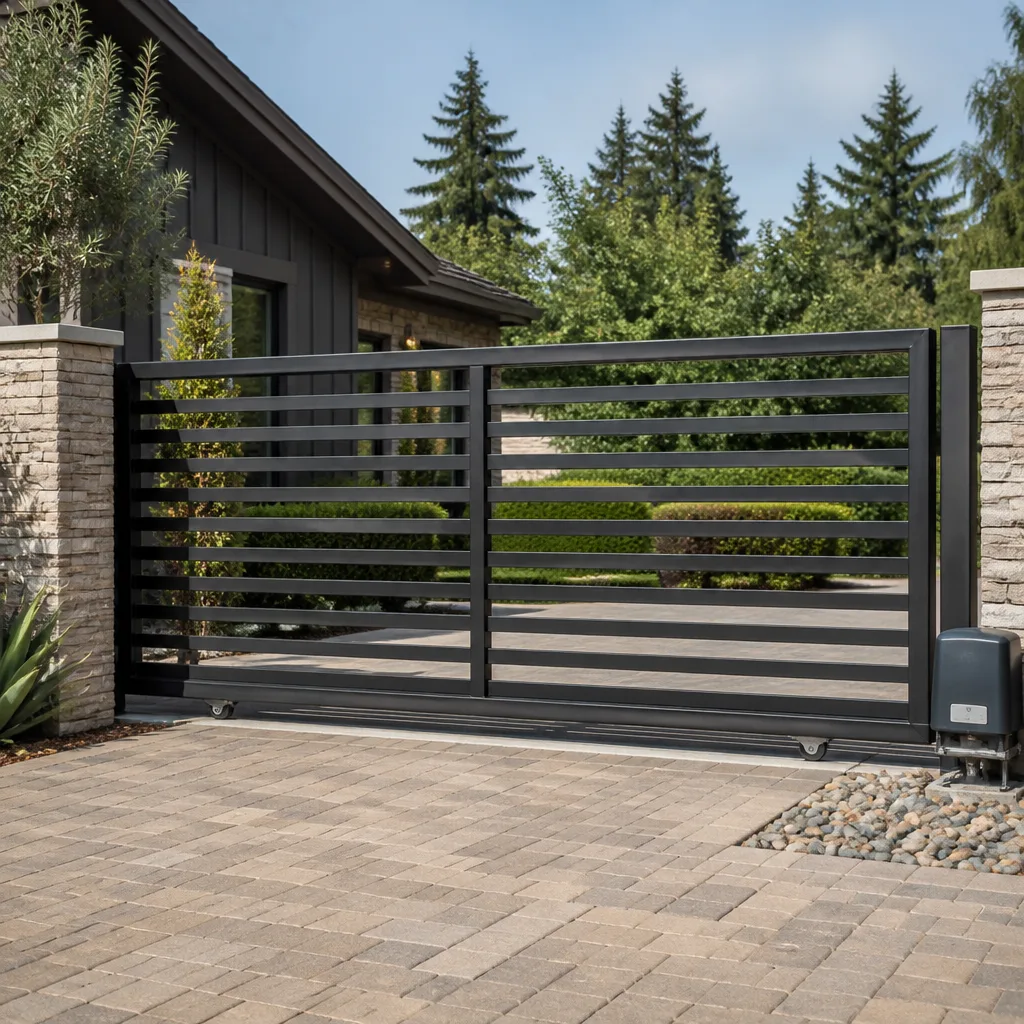 Sliding driveway gates
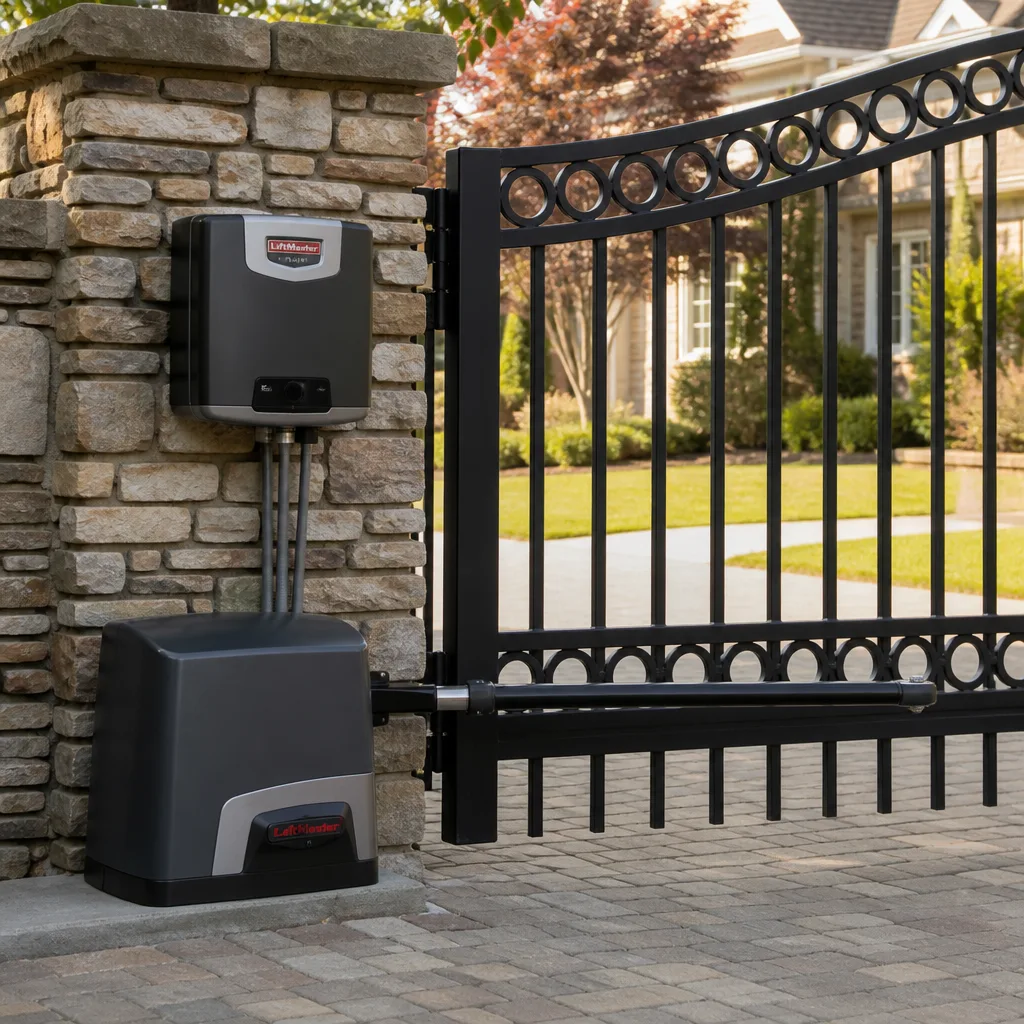 LiftMaster operators
Free on-site gate assessment - hinges, posts, and your LiftMaster or Nice gate operator checked before anything is quoted
The assessment is free and the quote is the invoice.
Get your free estimateDIY vs Professional Gate Repair: The San Carlos Homeowner’s Decision Guide
The most dangerous DIY gate repair isn’t electrical, it’s mechanical. Re-hanging a sagging gate without correcting the post that shifted in the first place is the number one cause of repeat operator failures we see within 90 days of a repair in San Carlos. The motor burns out trying to move a gate that’s still binding, and the homeowner is out the cost of the motor plus the original hinge work. This guide walks you through a decision framework based on failure type, not confidence level, so you know exactly which repairs make sense to attempt, which ones to leave alone, and what to do in the hours between a failure and a Gate Repair services visit.
Styles & brands we work with
- Wrought iron
- Wood & steel frame
- Farm & ranch
- Sliding driveway gates
- LiftMaster operators
Quick Answer
Most gate repairs in San Carlos are not safe or cost-effective DIY projects because the visible symptom rarely matches the root cause. A gate that won’t open could be a dead battery, a misaligned safety sensor, a failed control board, or a binding hinge, and each requires a different fix. If the failure is mechanical and visual, a competent homeowner can often handle it; if it involves a motor, control board, loop detector, or access control wiring, call a gate specialist before touching anything.
Table of Contents
- The Decision Matrix: What’s Actually DIY-Safe
- Five Gate Repairs That Look Simple but Cause Secondary Damage
- The Real Cost Comparison: DIY Parts vs Professional Repair
- What a Homeowner Can Legitimately Do Between Failure and the Repair Call
- Warranty Implications: Which DIY Interventions Void Manufacturer Coverage
- San Carlos-Specific Factors That Change the DIY Calculus
- Common Mistakes to Avoid
- When to Call a Professional
- Frequently Asked Questions
- The Bottom Line
The Decision Matrix: What’s Actually DIY-Safe
Here’s the framework we use when a San Carlos homeowner asks whether they should attempt a repair themselves. It comes down to three questions: Can you see the problem? Can you reach it safely without spring tension or electrical exposure? And do you own the tool that diagnoses it? If the answer to all three is yes, it’s probably a reasonable DIY project. If any answer is no, the repair belongs with a professional.
Most gate failures fall into one of four categories. Mechanical issues are visible and often touchable: a sagging gate, a loose hinge, a wheel off its track, a bent bracket. Electrical issues are partially visible but require testing to isolate: a motor that hums but doesn’t move, a keypad that doesn’t respond, a sensor that blinks but doesn’t stop the gate. Control board and logic issues are invisible without diagnostic equipment. And structural issues, like a post that’s shifted or a foundation crack at the gate column, are visible but require heavy equipment and sometimes concrete work to fix properly.
So the honest decision matrix looks like this:
- Lubrication, hinge tightening, track cleaning: DIY-safe for most mechanically competent homeowners. These are maintenance tasks, not repairs, and the stakes are low if done with the right products.
- Replacing a gate wheel or roller: DIY-safe on a slide gate when the gate is fully in the open position and the wheel isn’t under load. On a swing gate, replacing a hinge while the gate is still hanging is not DIY-safe, because the gate will shift and bind if the other hinges aren’t supported first.
- Battery replacement in a swing gate opener: DIY-safe on Mighty Mule, Ghost Controls, and similar residential openers. The battery is typically housed in an accessible compartment, and the replacement doesn’t require reprogramming.
- Remote or keypad programming: DIY-safe if you have the original manual and the opener is a LiftMaster, Linear, or Ghost Controls unit with simple learn-button pairing. Viking and DoorKing units sometimes require a master code to access programming, and guessing at that can lock the keypad.
- Safety sensor realignment: DIY-safe in the sense that it’s low-risk, but it often doesn’t fix the problem. A sensor that’s been knocked out of alignment is easy to nudge back; a sensor that realigns but still faults usually has a wiring or board-level issue that no homeowner tool can find.
- Anything involving the motor, capacitor, control board, or limit switches: Not DIY-safe, full stop. These components are under voltage even when the gate is stationary, and the diagnostic process requires a multimeter, wiring diagrams, and brand-specific knowledge of how the board logic works.
The pattern to notice: the repairs that are genuinely DIY-safe are almost all maintenance-adjacent. They’re things that keep a working gate working. The moment a gate stops functioning entirely, something has already failed, and the repair requires finding that failure, not just tightening what’s loose.
Five Gate Repairs That Look Simple but Cause Secondary Damage
These are the five repairs we get called out to fix after a homeowner attempted them. They all look straightforward on a YouTube video. Every one of them can cause damage that costs more than the original repair would have.
1. Re-hanging a sagging gate without correcting the post
A gate sags because the hinge post has shifted, the hinges themselves have worn, or the gate frame has racked. A homeowner sees the sag, loosens the hinge bolts, lifts the gate, and re-tightens. The problem: the post is still where it was, so the gate is now hanging from hinges that are no longer in their designed load path. The operator has to work harder on every cycle. Within weeks or months, the motor burns out, the control board overheats, or a hinge weld fails. In San Carlos, where expansive clay soil moves posts seasonally, sagging gates often mean the post needs to be re-set in concrete or braced, not just re-hung.
2. Adjusting limit switches on a slide gate without checking the track
If a slide gate stops short or overtravels, the limit switch seems like the obvious culprit. But the limit switch is often doing its job while the track is the actual problem: a wheel has seized, a section of track has shifted, or debris has built up. Adjusting the limits to compensate for a mechanical issue makes the gate travel farther into a damaged area, which compounds the wear. A proper diagnosis checks the track, wheels, and chain tension before touching the limit settings. Brand matters here too: a Viking slide gate operator reads limits differently than a DoorKing unit, and a setting that works on one won’t transfer to the other.
3. Replacing a keypad without checking the controller compatibility
Keypads look universal. They aren’t. A homeowner sees a worn keypad, buys a replacement at a big-box store or online, wires it in, and finds that the gate opens once and then never again, or the keypad enters a fault loop. DoorKing, Elite, and other access-control brands use proprietary communication protocols on some models. Wiring in an incompatible keypad can damage the controller’s input board. Even when the protocol matches, programming a new keypad usually requires the installer code, which many homeowners don’t have.
4. Bypassing a safety sensor that keeps faulting
This one is tempting because it’s easy. A photo eye or safety edge keeps stopping the gate, so the homeowner disconnects it or tapes the sensor together to force a clear signal. The gate starts working, and everything seems fine. What’s actually happening: the operator is now running without a safety device, which is a liability exposure every time the gate cycles, and the underlying fault is still present. If the sensor was faulting because of a nick in the wiring, that nick is now arcing intermittently against the gate frame, and the next failure may be the control board rather than the sensor. On commercial properties in San Carlos, bypassing a safety edge is also a code violation that can create serious liability if someone is injured.
5. Tightening a chain that’s loose because the gate is binding
A loose chain is a symptom, not a cause. Gates develop chain slack when a wheel wears down, a guide roller fails, or debris wedges in the track. Tightening the chain without fixing what’s underneath transfers the stress to the drive sprocket and the operator’s output shaft. We’ve replaced output shafts on Elite and Viking commercial operators that failed within a month of a homeowner tightening the chain to “fix” a gate that was actually binding on a seized wheel. The proper sequence is: find the bind, fix the bind, then tension the chain to spec.
The Real Cost Comparison: DIY Parts vs Professional Repair
The math on DIY gate repair usually looks better on paper than it does in the driveway. Here’s an honest breakdown of what San Carlos homeowners actually spend when they attempt a repair versus calling a specialist.
DIY repair cost breakdown
- Parts: A replacement control board for a LiftMaster swing gate opener runs $180 to $400 online. A generic replacement photo eye is $40 to $80. A hinge set for a residential steel gate is $60 to $150. But here’s the catch: without diagnostics, the part you buy is a guess. A homeowner who replaces a control board when the actual problem is a bad limit switch spends $300 and still has a broken gate.
- Tools: Most homeowners don’t own a multimeter with a continuity tester, and they definitely don’t own a gate-specific diagnostic tool that reads fault codes from a DoorKing or Elite board. A basic multimeter is $30 to $80. A proper gate diagnostic tool starts around $300 and goes up from there.
- Time: Diagnosing, ordering parts, waiting for delivery, installing, troubleshooting, and potentially repeating the cycle typically spans 3 to 10 hours spread across a week or more. In that time, a swing gate is often secured with a chain and padlock, which means the driveway is no longer being used as a driveway.
- Risk of error: This is the line item no one budgets for. A misdiagnosed repair on an automated gate costs the original parts plus the damage. We see secondary damage repair bills in the $400 to $1,200 range regularly after DIY attempts on motors and control boards.
Professional repair cost breakdown
- Diagnosis: $75 to $125 in most San Carlos cases, often waived or credited toward the repair when the work is completed.
- Typical mechanical repair: $150 to $350 for hinge replacement, wheel replacement, track realignment, or post bracing on a residential gate.
- Typical electrical repair: $180 to $400 for a limit switch, capacitor, safety sensor, or wiring repair on a residential opener.
- Control board replacement: $350 to $800 depending on brand and complexity. A Ghost Controls or Mighty Mule residential board is on the lower end; a commercial Viking or Elite board can run higher.
- Total time: Most repairs are completed in one visit. The gate is back in motion the same day, and the repair carries a workmanship warranty.
The honest math: DIY saves real money only when the repair is genuinely simple and correctly diagnosed. Replacing a battery on a Mighty Mule opener, swapping a keypad that’s been confirmed compatible, or cleaning and lubricating a track are all situations where DIY costs less than a service call. But the moment the repair involves a motor, board, or structural issue, the DIY path carries a high probability of spending more in the long run than the professional repair would have cost on day one.
One more San Carlos-specific note: our service area spans neighborhoods from the flats near Laurel Street up into the hills, where homes sit on slopes with longer driveways and custom gate installations. The more custom the gate, the less likely a generic part from a big-box store will fit. Custom gates need custom measurements, and that’s where a gate repair in San Carlos specialist with parts access pays for itself.
What a Homeowner Can Legitimately Do Between Failure and the Repair Call
If your gate fails and you’re waiting for a technician, our Gate Repair Emergency Preparedness Guide for San Carlos Homes covers things you can do right now that genuinely help. These tasks don’t fix the gate, but they prevent the situation from getting worse and can speed up the professional repair.
- Secure the gate, but don’t force it. If the gate is stuck closed, leave it closed and use the pedestrian gate or alternate entry if you have one. If the gate is stuck open, you can chain and padlock it to the fence or a post, but do not try to manually push a motorized gate closed against an engaged operator. That can shear the gears on a Ghost Controls or Mighty Mule unit.
- Photograph and document what you saw and heard. Write down exactly what the gate did before it failed: did it slow down, make a grinding noise, stop halfway, or refuse to respond to the remote? These details help a technician narrow the diagnosis quickly. A 10-second video of the failure in progress is genuinely valuable.
- Check the power source. For an electric gate, confirm the outlet or breaker feeding the operator has power. Reset the GFCI if it tripped, but don’t reset it more than once. A GFCI that trips again immediately is reporting a ground fault, and resetting it repeatedly can damage the operator.
- Check for visible obstructions. Look along the full track of a slide gate for rocks, branches, or debris that might have wedged under a wheel. On a swing gate, look for anything blocking the arc of the gate’s travel. Clearing an obstruction is safe and can sometimes restore operation on its own.
- Note the brand and model. Find the operator’s nameplate or the manual if you have it. Knowing it’s a Viking G-5 versus a DoorKing 9150 before the technician arrives allows them to bring the right parts on the first trip.
- Don’t attempt any repair that involves opening the operator housing. The capacitor inside a gate operator holds a charge even when the unit is unplugged. A homeowner who opens the housing and touches the capacitor can receive a serious shock. Leave the housing closed.
These steps are safe, they take 10 minutes, and they genuinely improve the outcome. Everything beyond this list belongs to a technician with the right diagnostic equipment and brand-specific training.
Warranty Implications: Which DIY Interventions Void Manufacturer Coverage
Gate operator manufacturers have specific language in their warranty documents about owner-performed work, and the line between “voided warranty” and “documented maintenance” matters more than most homeowners realize.
LiftMaster, for example, voids operator warranties when the unit has been opened by anyone other than a qualified technician and when aftermarket parts have been installed. Ghost Controls and Mighty Mule have similar language, though they are more permissive about battery replacement. Viking, DoorKing, and Elite, which serve commercial and estate-class installations, are the strictest of the group: their warranties typically require installation and service by a qualified dealer, and unauthorized board swaps or wiring modifications void coverage entirely.
What voids a warranty:
- Opening the operator housing and replacing any internal component yourself
- Installing an aftermarket control board or aftermarket safety sensor from a different brand
- Bypassing or disconnecting a safety device (photo eye, safety edge, loop detector)
- Adjusting internal limit switches or force settings beyond the manufacturer’s published range
- Wiring in an access control device (keypad, card reader, intercom) without matching the opener’s protocol
What does NOT void a warranty, if documented:
- Replacing the battery in a swing gate opener using the manufacturer-approved battery
- Cleaning the track, hinges, and operator exterior
- Lubricating hinges and wheels with a non-petroleum lubricant
- Re-aligning a photo eye that was knocked out of position, provided no wiring was altered
- Programming a remote or keypad using the manufacturer’s published instructions
For documentation, save the receipt for any part you buy and take a photo of the installed part. Write down the date and what you did. A logbook of owner-performed maintenance, even just a note in your phone, demonstrates good-faith upkeep if a warranty claim is ever disputed.
The practical takeaway for San Carlos homeowners: if your gate is still under manufacturer warranty, the safest path is to call a specialist for anything beyond cleaning and battery replacement. An electric gate repair in San Carlos technician who works on your brand can perform the repair without voiding the coverage you already paid for.
San Carlos-Specific Factors That Change the DIY Calculus
San Carlos isn’t a generic suburb, and its specific geography, climate, and housing stock change the gate repair equation in ways that a national DIY video can’t account for.
Expansive clay soil. Much of San Carlos sits on clay that swells in wet winters and contracts in dry summers. Gate posts set in this soil shift seasonally, which means a gate that was perfectly level in June may bind by December. This isn’t a hinge problem; it’s a foundation problem, and no homeowner with a wrench is going to fix a post that needs re-setting in concrete with proper drainage.
Hillside properties. San Carlos climbs from the flats up into the hills, and hillside gates have different load profiles than flat-lot gates. A swing gate on a slope fights gravity differently than one on level ground. Operators on hillside gates work harder, run hotter, and fail sooner when the mechanical alignment isn’t perfect. Hillside gate repairs in the San Carlos hills are consistently the ones where DIY attempts go sideways fastest.
Coastal humidity and fog. San Carlos gets marine-layer fog that leaves morning condensation on metal surfaces. Gate operators, control boards, and wiring connections don’t love moisture. Corroded terminals and oxidized connections are a common failure point that looks exactly like a dead motor to an untrained eye. Diagnosing corrosion requires opening the housing and testing, which crosses out of DIY territory.
Older housing stock with newer upgrades. Many San Carlos homes built in the 1940s through 1970s have had gates added later, often as part of a driveway or landscaping upgrade. These retrofitted gates sometimes have unusual power runs, older conduit, and non-standard operator mounting. A generic installation video assumes a standard setup; a San Carlos retrofit often has something unusual going on behind the operator.
None of these factors make San Carlos gates unrepairable by a competent DIYer, but they raise the difficulty floor. The margin for error is thinner here than in a flat, dry, newer-development city.
Common Mistakes to Avoid
- Treating the symptom instead of the root cause. A gate that slams shut quickly, or creeps open slowly, or stops at the wrong point, is reporting something. Adjusting a setting to mask the symptom usually moves the problem deeper into the system where it costs more to fix.
- Using WD-40 or generic spray lubricant on gate hardware. WD-40 is a solvent, not a lubricant. It strips away existing lubricant and leaves metal surfaces dry. Gate hinges and wheels need a lithium or silicone-based lubricant. Using the wrong product accelerates wear.
- Ordering parts before diagnosing. A humming motor is not a diagnosis. A non-responsive keypad is not a diagnosis. Ordering a replacement part based on a guess is the single most common way DIY gate repair ends up costing more than professional repair.
- Ignoring the safety equipment. Photo eyes, safety edges, and loop detectors are on the gate for a reason. Disconnecting them to force operation works until someone gets injured, and then the liability lands squarely on the homeowner. On any commercial or HOA gate in San Carlos, this is also a code enforcement issue.
- Forcing a motorized gate manually. If the operator is engaged, the gate won’t move by hand without damaging the gears. Disengaging the operator is usually possible with a release handle, but not all operators have external releases, and forcing the gate against a locked operator shears internal gears on brands like Ghost Controls and Viking.
- Assuming all gate openers are wired the same way. A wiring harness from a LiftMaster does not drop into a DoorKing. Wire colors, voltage requirements, and communication protocols differ between brands. Swapping a new opener onto an old system without checking compatibility is a fast way to fry a brand-new board.
- Waiting until the gate is completely dead to address it. Gates almost always report problems before they fail: slower operation, new noises, hesitation, intermittent non-response. Ignoring those signs until the gate stops entirely is what turns a $200 repair into an $800 replacement. If your gate is showing early symptoms, call before it’s dead.
When to Call a Professional
Call a gate specialist when the gate won’t open at all, when it opens erratically, when you hear grinding or humming, when any safety device is faulting, when the gate reverses on its own, or when you see visible damage to the post, hinges, track, or operator. These are all failure modes where the root cause is invisible to a homeowner and the diagnostic equipment is the difference between a correct repair and a compounding problem.
Call immediately if the gate sparks, smokes, or trips a breaker repeatedly, or if a safety device has been bypassed and the gate is operating without its protection. These are safety issues, not inconvenience issues.
For anything in the gray zone, or for homeowners who want a trained opinion before attempting a repair, Gate Repair San Carlos offers free estimates in San Carlos. Call (855) 395-1573 and describe what the gate is doing. We’ll tell you honestly whether it’s a project you can handle or one that needs a technician.
Frequently Asked Questions
Most residential gate repairs in San Carlos run between $150 and $800 depending on the failure type. Simple mechanical repairs like hinge or wheel replacement typically fall in the $150 to $350 range, while electrical repairs like limit switch or sensor replacement run $180 to $400, and control board replacement runs $350 to $800. Every repair is quoted and agreed before any work starts. Call (855) 395-1573 for a free estimate specific to your gate.
You can perform basic maintenance like battery replacement, track cleaning, and lubrication on most residential openers, but you should not open the operator housing or replace internal components yourself. Gate operator capacitors hold a charge even when unplugged, and internal repairs on a LiftMaster, Viking, DoorKing, or Elite unit require diagnostic tools and brand-specific wiring knowledge that homeowners don’t have. Attempting internal repairs also voids most manufacturer warranties.
A full gate installation in San Carlos includes site assessment, post setting, gate fabrication or selection, operator installation, safety sensor installation, access control wiring, programming, and testing. The price depends on gate size, material, operator brand, and whether the project is a swing gate or slide gate, but the process always includes written pricing before any work begins, and the job isn’t complete until the gate cycles correctly with all safety devices active.
Yes, power runs, conduit, safety edges, photo eyes, loop detectors, and all access-control wiring are part of a complete gate installation or major repair. For a repair scenario, we test the existing safety devices and wiring before recommending any replacement. For new installations, the safety system is engineered into the project from the start, not added as an afterthought.
We prioritize same-day response for emergency gate failures in San Carlos, including gates stuck open, gates that won’t open, and safety device failures. Call (855) 395-1573 in the morning, and we’ll do our best to have a technician to your property the same day. For non-emergency repairs and installations, we’ll schedule the visit at a time that works for you.
We work on your brand, not against it. Our technicians are trained across nine major gate brands including LiftMaster, FAAC, BFT, Linear, Viking, Ghost Controls, DoorKing, Elite, and Mighty Mule. From the opener to the arm, from the sensor to the keypad, we diagnose first and replace only if necessary, regardless of whether your system is a residential Mighty Mule or a commercial Viking installation.
The Bottom Line
The DIY versus professional gate repair decision isn’t about your skill level. It’s about what you can see. If you can see the problem and reach it safely, you can probably fix it. If the gate stopped working and the reason isn’t visible, every minute spent guessing is a minute the real problem is getting worse. San Carlos homeowners are best served by a clear-eyed approach: handle the maintenance tasks, document what you did, and call a gate specialist the moment the failure moves beyond what a wrench and a flashlight can reveal. For more guides & resources, explore our blog. Most importantly, never ignore early symptoms. A gate that’s making a new noise or moving slower than it did last month is asking for attention. Answer it before it stops asking.
For a free estimate on any gate repair, electric gate issue, or new installation in San Carlos, call (855) 395-1573 or visit our Gate Repair San Carlos home page to learn more about how we work.
Written by the team at Gate Repair San Carlos, serving San Carlos since 2017.
See the difference
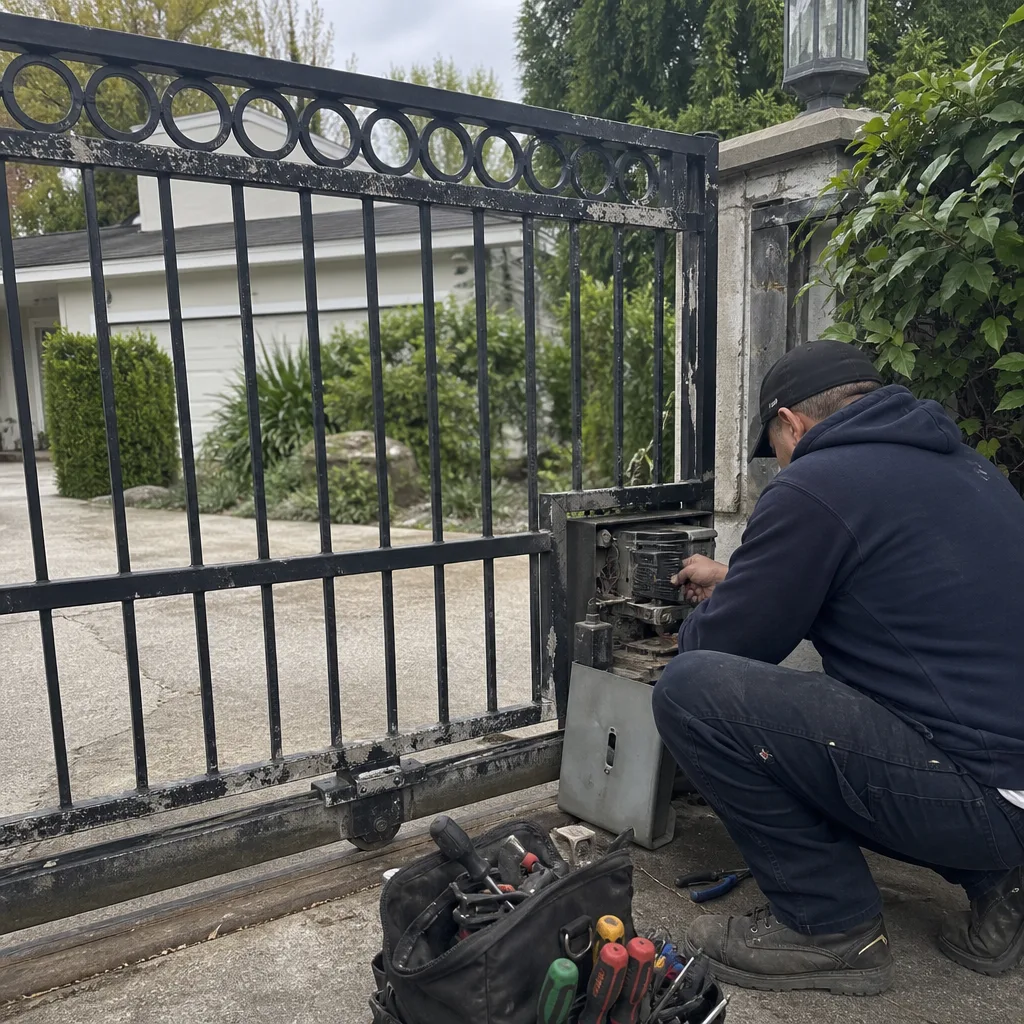 Before
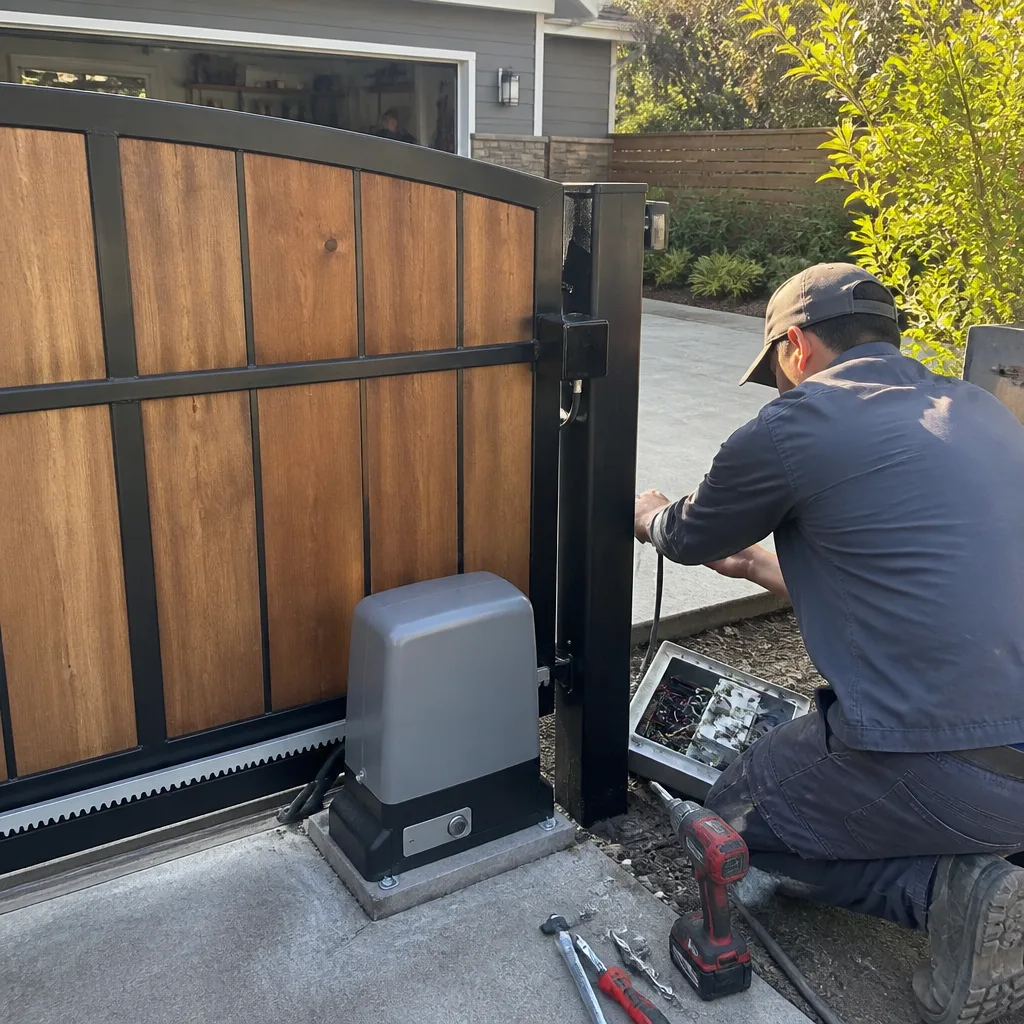 After
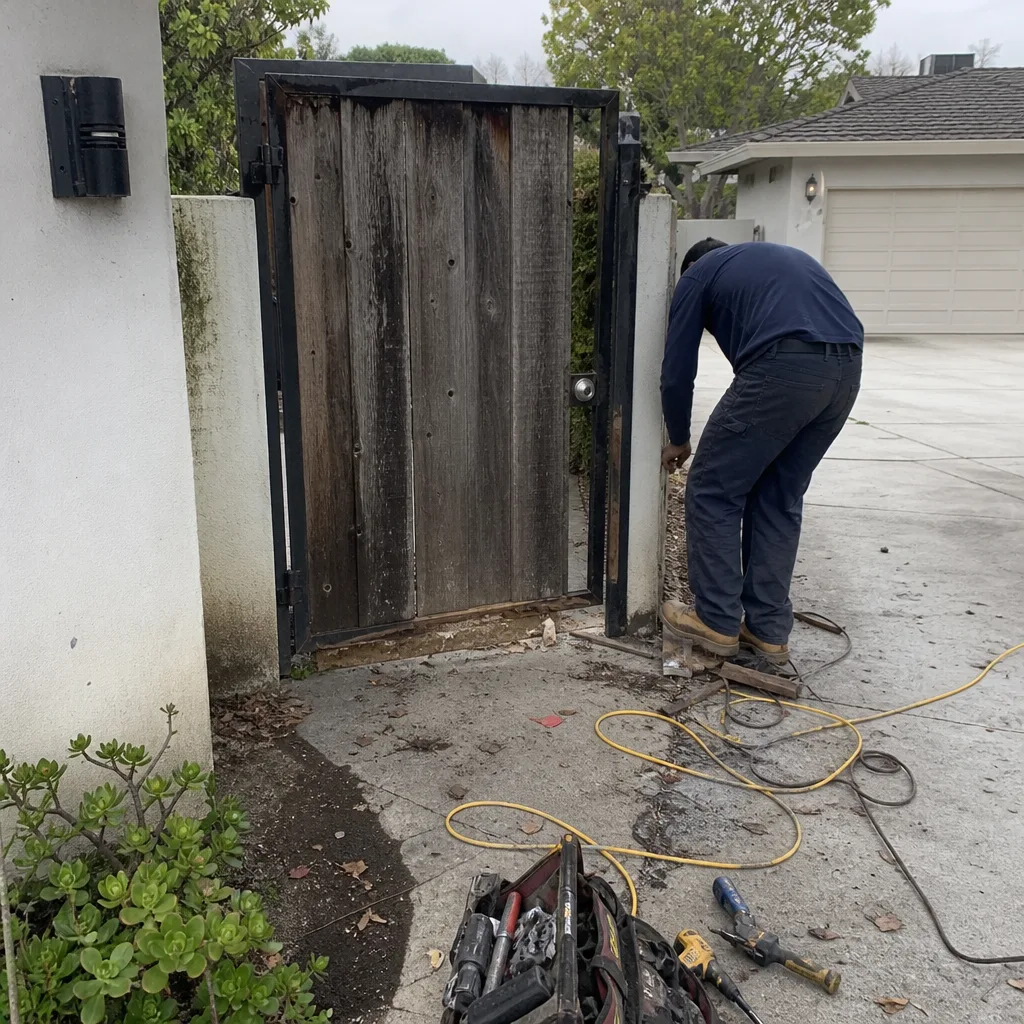 Before
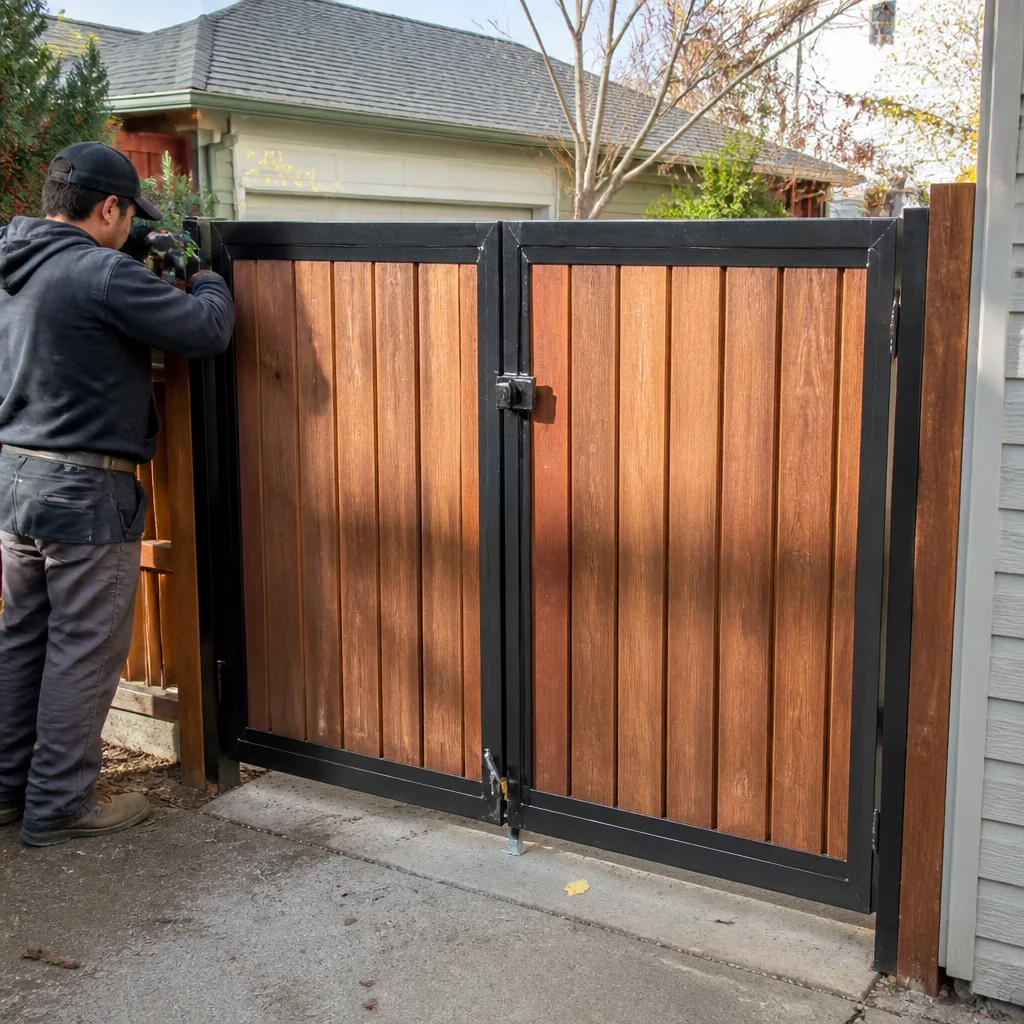 After
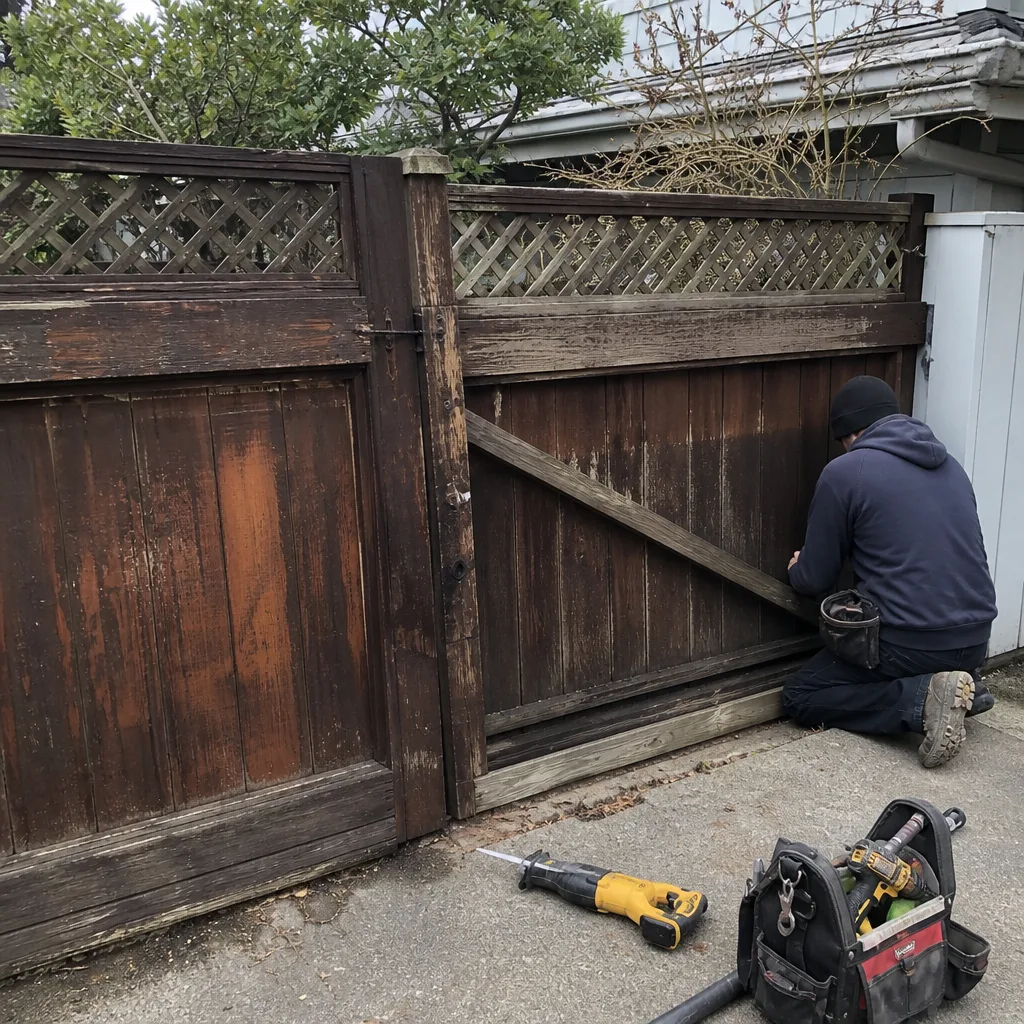 Before
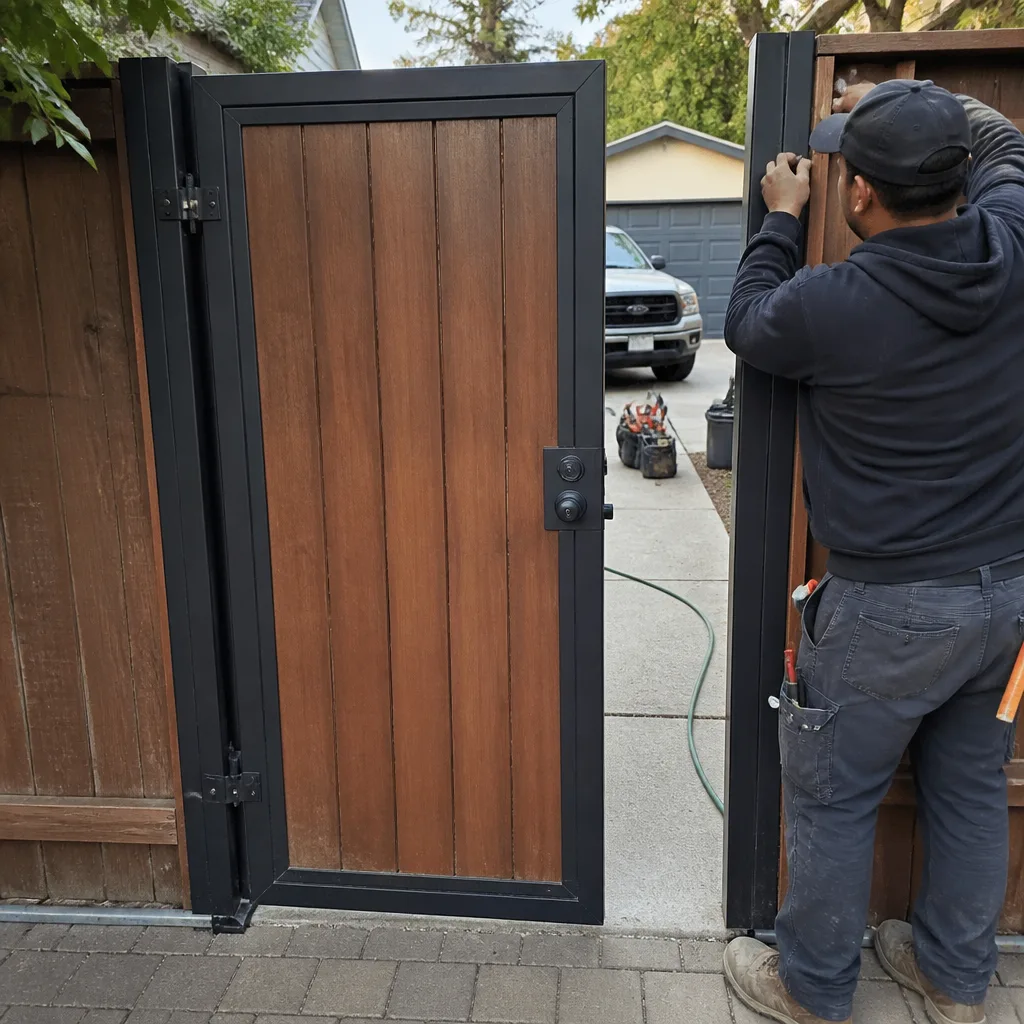 After